There’s something irresistibly comforting about a perfectly baked tart, and when it’s filled with the rich, creamy goodness of Nutella, it becomes pure magic. As a self-confessed Nutella addict and baking enthusiast, I’ve spent countless hours in the kitchen perfecting the art of Nutella tarts. Today, I’m excited to share my journey, tips, and tricks to help you create these delightful treats in your own kitchen.
A Love Affair with Nutella
My love affair with Nutella began in my childhood when I first tasted that heavenly chocolate-hazelnut spread. Over the years, it became my go-to ingredient for everything from toast to pancakes, and eventually, I found myself experimenting with Nutella in baking. The idea of combining my favorite spread with a buttery, flaky tart shell was too tempting to resist, and thus began my quest to perfect the Nutella tart.
Ingredients: The Building Blocks of Perfection

The secret to any great recipe lies in the quality of the ingredients. Here’s what you’ll need to create your Nutella tarts:
- 1 1/2 cups all-purpose flour: The foundation of our tart shell. Make sure it’s fresh and sifted for a smooth texture.
- 1/2 cup powdered sugar: Adds sweetness to the dough without making it too dense.
- 1/2 cup unsalted butter, cold and cubed: Butter is the key to a flaky crust. Always use it cold and work quickly to avoid melting.
- 1 large egg yolk: Adds richness and helps bind the dough.
- 1 teaspoon vanilla extract: A hint of vanilla complements the Nutella perfectly.
- 1/4 teaspoon salt: Enhances the flavors and balances the sweetness.
- 1 cup Nutella: The star of the show! Feel free to be generous with it.
- Optional toppings: Chopped hazelnuts, sea salt, or fresh berries for garnish.
Step-by-Step Instructions: From Dough to Delight
1. Preparing the Tart Dough:

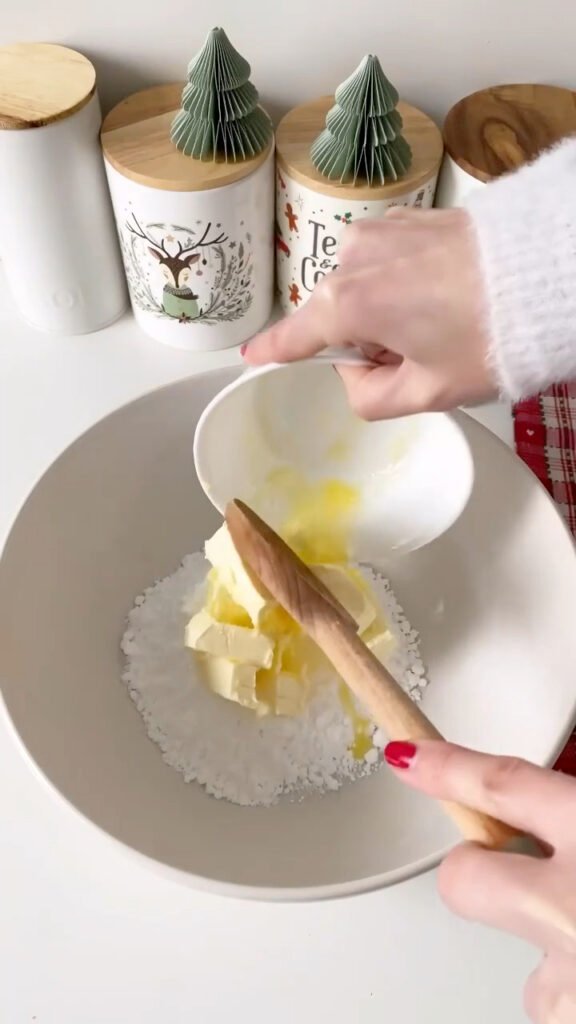
Making the tart dough is where the magic begins. I recommend using a food processor to combine the flour, powdered sugar, and salt. Once mixed, add the cold, cubed butter and pulse until the mixture resembles coarse crumbs. This step is crucial—overworking the dough will result in a tough crust.
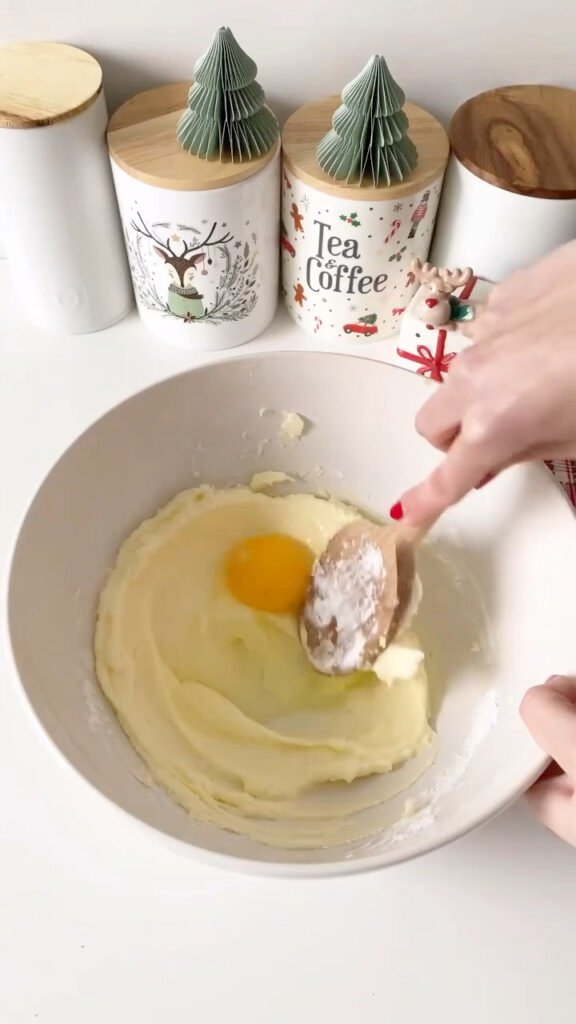
Next, add the egg yolk and vanilla extract. Pulse again until the dough starts to come together. If it looks a bit dry, don’t panic; just gather it into a ball with your hands. Once it’s shaped into a disc, wrap it in plastic wrap and refrigerate for at least 30 minutes. Chilling the dough helps it relax and makes it easier to roll out later.
Tip: If you find the dough too sticky to work with, try dusting your hands and the work surface with a bit of flour. But be careful not to overdo it, as too much flour can make the dough dry.
2. Preheating the Oven:
Preheat your oven to 350°F (175°C). While the oven is heating, take a moment to prepare your tart pans or molds. I prefer using mini tart pans because they create individual servings that are both cute and convenient.
3. Shaping and Baking the Tart Shells:

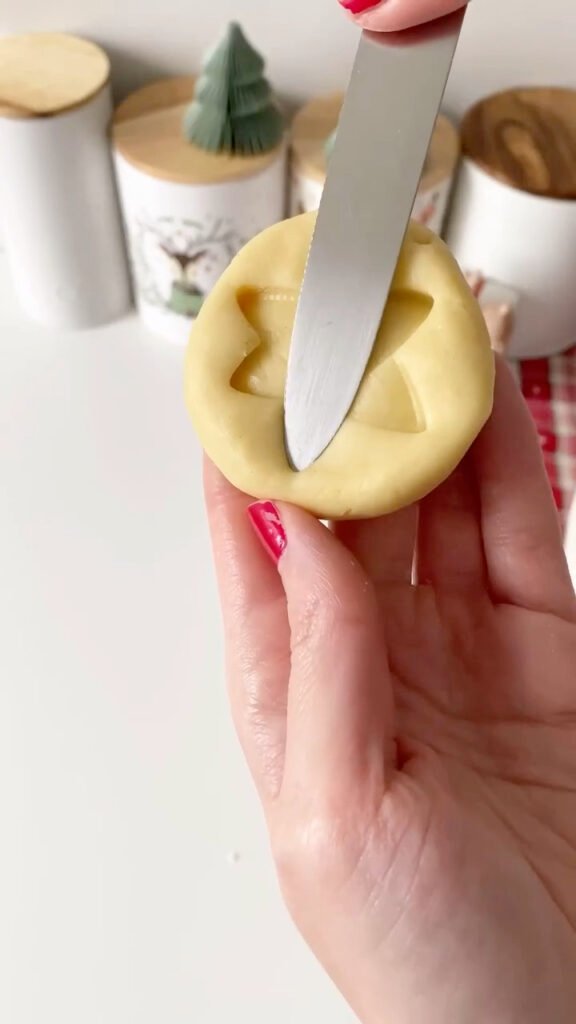
Once the dough has chilled, roll it out on a lightly floured surface to about 1/4 inch thickness. This is where you can have some fun! Use a round cutter slightly larger than your tart pans to cut out circles of dough. Gently press each circle into the tart pans, making sure to trim any excess dough.
Before baking, use a fork to prick the bottom of each tart shell. This prevents the dough from puffing up during baking. Bake the shells for 12-15 minutes or until they’re golden brown. Keep an eye on them—every oven is different, and you don’t want them to overbake.
Tip: If you want to add a bit of extra flavor to your tart shells, consider brushing them with a light layer of egg wash (a mixture of beaten egg and water) before baking. This gives them a beautiful golden sheen.
4. Filling the Tarts:

Once the tart shells have cooled completely, it’s time to add the Nutella. This is my favorite part! Spoon a generous amount of Nutella into each tart shell, spreading it evenly with the back of the spoon. The warmth of your hands will soften the Nutella slightly, making it easier to spread.
Optional Toppings: While Nutella on its own is delicious, I love adding a sprinkle of chopped hazelnuts for some crunch or a pinch of sea salt to enhance the flavor. Fresh berries also make a beautiful and tasty garnish.
Special Tips and Tricks for Nutella Tarts
1. Getting the Perfect Texture:
The key to a perfect tart shell is keeping the butter cold throughout the process. If your kitchen is warm, you might want to chill your mixing bowl and utensils in the fridge for a few minutes before starting. This will help maintain the dough’s flakiness.
2. Customizing Your Tarts:
One of the best things about Nutella tarts is their versatility. You can experiment with different flavors by adding a layer of fruit preserves under the Nutella or by infusing the tart dough with citrus zest or spices like cinnamon. If you’re feeling adventurous, try adding a layer of caramel or a few slices of banana on top of the Nutella before adding the garnishes.
3. Making Ahead:
Nutella tarts are a great make-ahead dessert. You can prepare the tart shells in advance and store them in an airtight container at room temperature for up to 3 days. When you’re ready to serve, simply fill them with Nutella and add your toppings.
4. Nutrition Information:
While Nutella tarts are undeniably indulgent, it’s always good to know what you’re eating. Here’s a rough breakdown of the nutritional content for one tart:
- Calories: 350-400 (depending on the size and toppings)
- Fat: 22-25g
- Carbohydrates: 38-42g
- Protein: 4-5g
- Sugars: 24-28g
Tip: If you’re looking to lighten up the recipe, consider using a low-fat or alternative spread, but keep in mind that it might alter the flavor and texture.
5. Storing Your Tarts:
If you have leftovers (which, let’s be honest, rarely happens with Nutella tarts), you can store them in an airtight container at room temperature for up to 2 days. For longer storage, place the tarts in the refrigerator, but be aware that the tart shells might lose some of their crispiness.
The Joy of Sharing Nutella Tarts
There’s something incredibly rewarding about baking, especially when the end result is as delicious as Nutella tarts. Whether you’re making them for a special occasion, a casual get-together, or just to satisfy a personal craving, these tarts are guaranteed to bring joy to anyone who tastes them.
One of my fondest memories is of sharing these tarts with friends and family. The look of delight on their faces as they took their first bite was priceless. It’s moments like these that make all the time and effort in the kitchen worthwhile.
Baking Nutella tarts is more than just following a recipe; it’s about embracing the experience. From the moment you start mixing the dough to the final touch of garnishing, every step is an opportunity to create something special. And in the end, you’ll have not just a delicious dessert but a memory to cherish.
So, next time you’re in the mood for something sweet, why not try making these Nutella tarts? With a little patience and love, you’ll be able to create a dessert that’s as satisfying to make as it is to eat.

Hey there! I’ve been following your weblog for some time now and finally got the bravery to
go ahead and give you a shout out from Kingwood Texas!
Just wanted to say keep up the fantastic job!!